
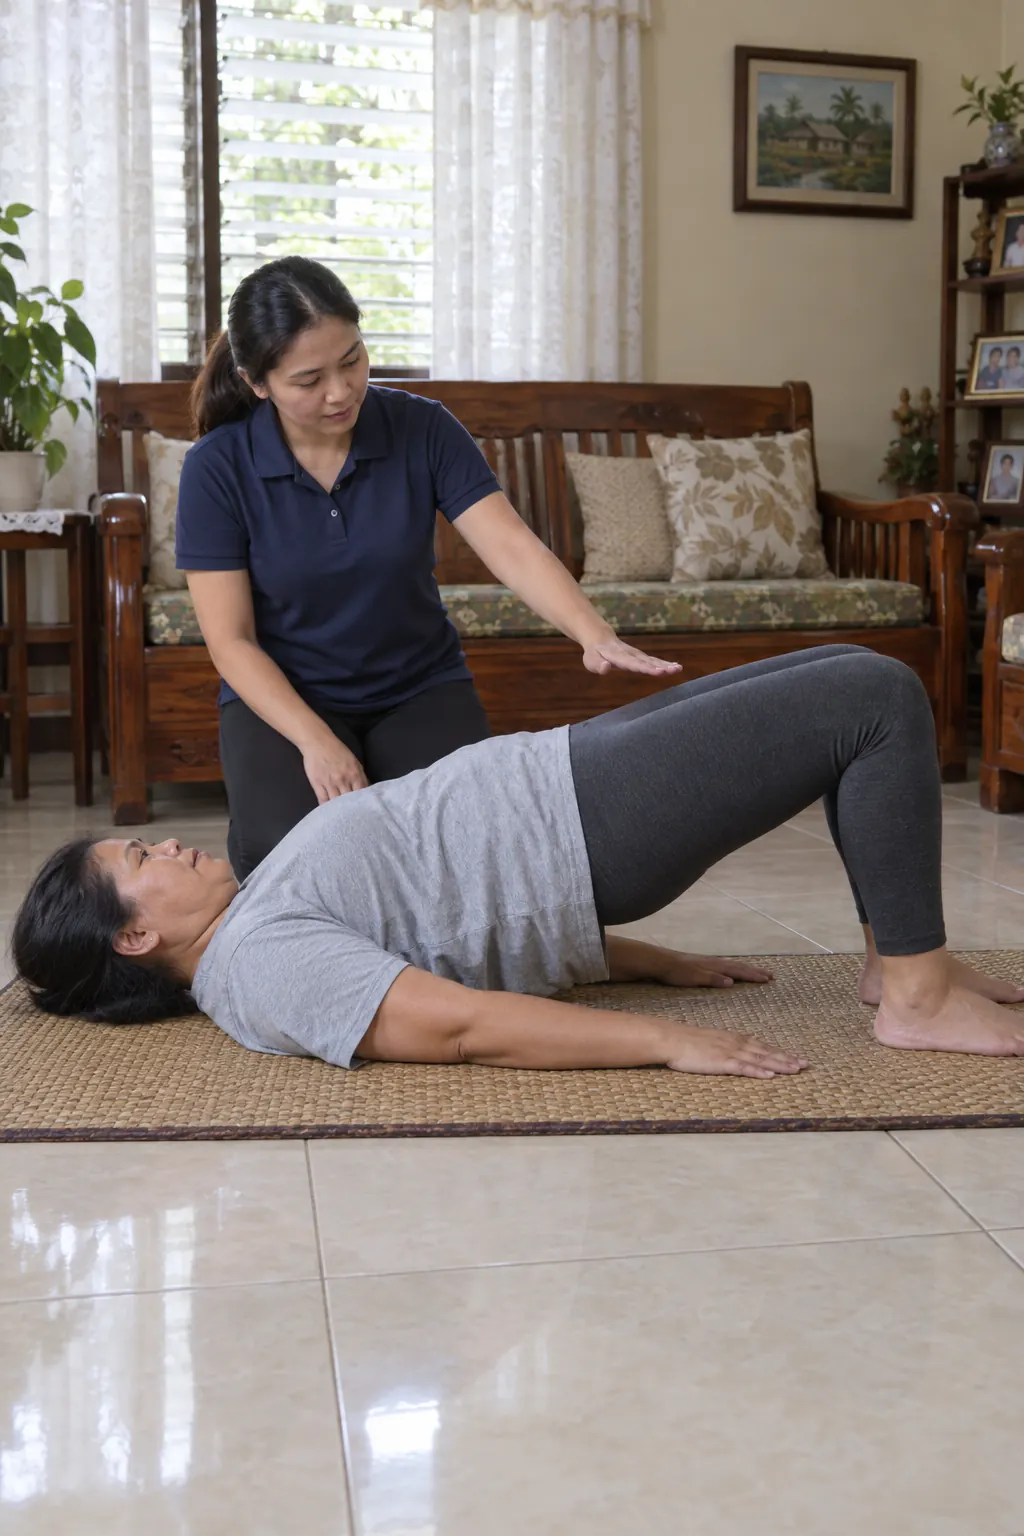
Generated illustration.
Getting up from a low sofa, climbing the stairs to the second floor, pushing a stalled tricycle: all of it asks the muscles of the backside to straighten the hip. Years of sitting teach those muscles to do less, and the lower back and thighs quietly take over. The glute bridge is one of the simplest ways to wake them up again.
It needs a mat or a folded blanket and two by two metres of floor. Nothing else.
How to do a glute bridge
Lie on your back with knees bent and feet flat on the floor, about hip-width apart, heels a hand’s length from your backside. Arms rest by your sides, palms down.
Breathe out, squeeze the backside and lift the hips until your knees, hips and shoulders form a straight line. Pause for a second at the top.
Lower slowly, back to the floor, and go again.
Start with 10 to 12 slow repetitions, rest, and do two or three sets. The exercise form gallery shows the top position from the side in a Filipino living room, with a coach’s hand marking the line from knee to shoulder.
What it trains
Mainly the glutes, the large muscles of the backside, with help from the hamstrings along the back of the thigh. Those are the muscles that straighten the hip every time you stand up, climb a step or push off to walk. Stronger glutes often make those everyday movements feel easier, and many coaches use the bridge early with people whose lower back ends up doing work the hips should do.
It is also a gentle move. Lying down takes balance out of it, which is why it turns up in programs for beginners, older adults and people returning to exercise after a baby, always within whatever a doctor has cleared.
Common mistakes
Arching the lower back at the top. The hips go only as high as the straight line from knee to shoulder. Past that, the back is doing the lifting. Squeeze the backside harder and bring the ribs down.
Pushing through the toes. Keep the weight in the heels; lifting the toes slightly can help you feel it.
Knees falling inward. Keep them in line with the feet. A small band above the knees, pushed apart, is a good reminder.
Rushing. A bridge that bounces off the floor is mostly momentum. Lift in about a second, pause, lower in two or three.
Five ways to make it harder
Once 3 sets of 15 clean repetitions feel easy, add one of these, in roughly this order:
A pause at the top. Hold for three to five seconds on every repetition.
A mini-band above the knees. Press the knees out against it all the way up and down. The resistance band gallery shows a banded bridge on a woven mat.
A weight on the hips. A dumbbell or a bag of rice resting across the hip bones, held in place with both hands.
Feet raised. Heels on a low step or the edge of a sturdy bench, which lengthens the movement.
Single leg. One foot on the floor, the other knee pulled towards the chest or the leg held straight. Hips stay level; this is much harder than it looks.
Who should check with a doctor first
Anyone recovering from a back or hip injury, anyone with a recent surgery, and anyone who is pregnant or recently gave birth. After the first trimester, lying flat on the back for long stretches is often discouraged, so a pregnant woman’s doctor may suggest a propped-up version or a different exercise. Our article on exercise for pregnant women at home covers this.
Where it fits in a week
The bridge fits almost anywhere: in a warm-up, as part of a strength session, or on its own in front of the television. On the same mat it pairs well with the dead bug, which trains the stomach to hold the lower back down while the arms and legs move, and the bridge is one of the six moves in our mat Pilates guide for beginners. Two or three times a week is plenty. Once the bridge is easy, lunges are the natural next step for the same muscles standing up. Fit Bud’s strength training and pre- and post-natal fitness pages explain how coaching at home works, always within what your body and your doctor allow. If you would like a coach to check your form in your own sala, tell us your town and your goal.